What is Multicam Editing?
Multicam editing is the process of editing footage of a single scene or subject recorded from different cameras and angles. Showing the same scene or subject from different angles helps make the video more dynamic and visually captivating for your audience.
Shooting
Our subject, a classmate, stood in the centre of the room and did a short performance. My group stood around the subject to record the performance from different angles. You can also see members from other groups because we did this lesson as a class. To make it easier to synchronise our cameras, the teacher clapped at the start of the scene as replacement for a clapperboard. This allowed us to line up the video in the editing process and ensure that the transitions would be smooth. Without this simple action it would have taken a lot longer to sync the videos.
My teammates (Kalista and Chelsea) had chose a different position to capture the star (our classmate) and we also shot our scene in various angles (high and low) to experiment with it. I had utilised a chair and stood on it to be able to create a high-angled shot.
(BEHIND THE SCENES IMAGES): LINK HERE
Here are the videos that me and my friend captured:
1.
2.
3.
My editing process
- Upload the videos to the editing software (YOUR SOFTWARE )
- Detach the audio of the clip you wish to use in the final video.
- Find the ‘clap’ marker on the audio.
- Line up the video files together.
- Cut where I want the edit to happen
- Don’t delete the clip, just lower the opacity. This way it can be used again later.
- Mute all clips except for the one you want to use.
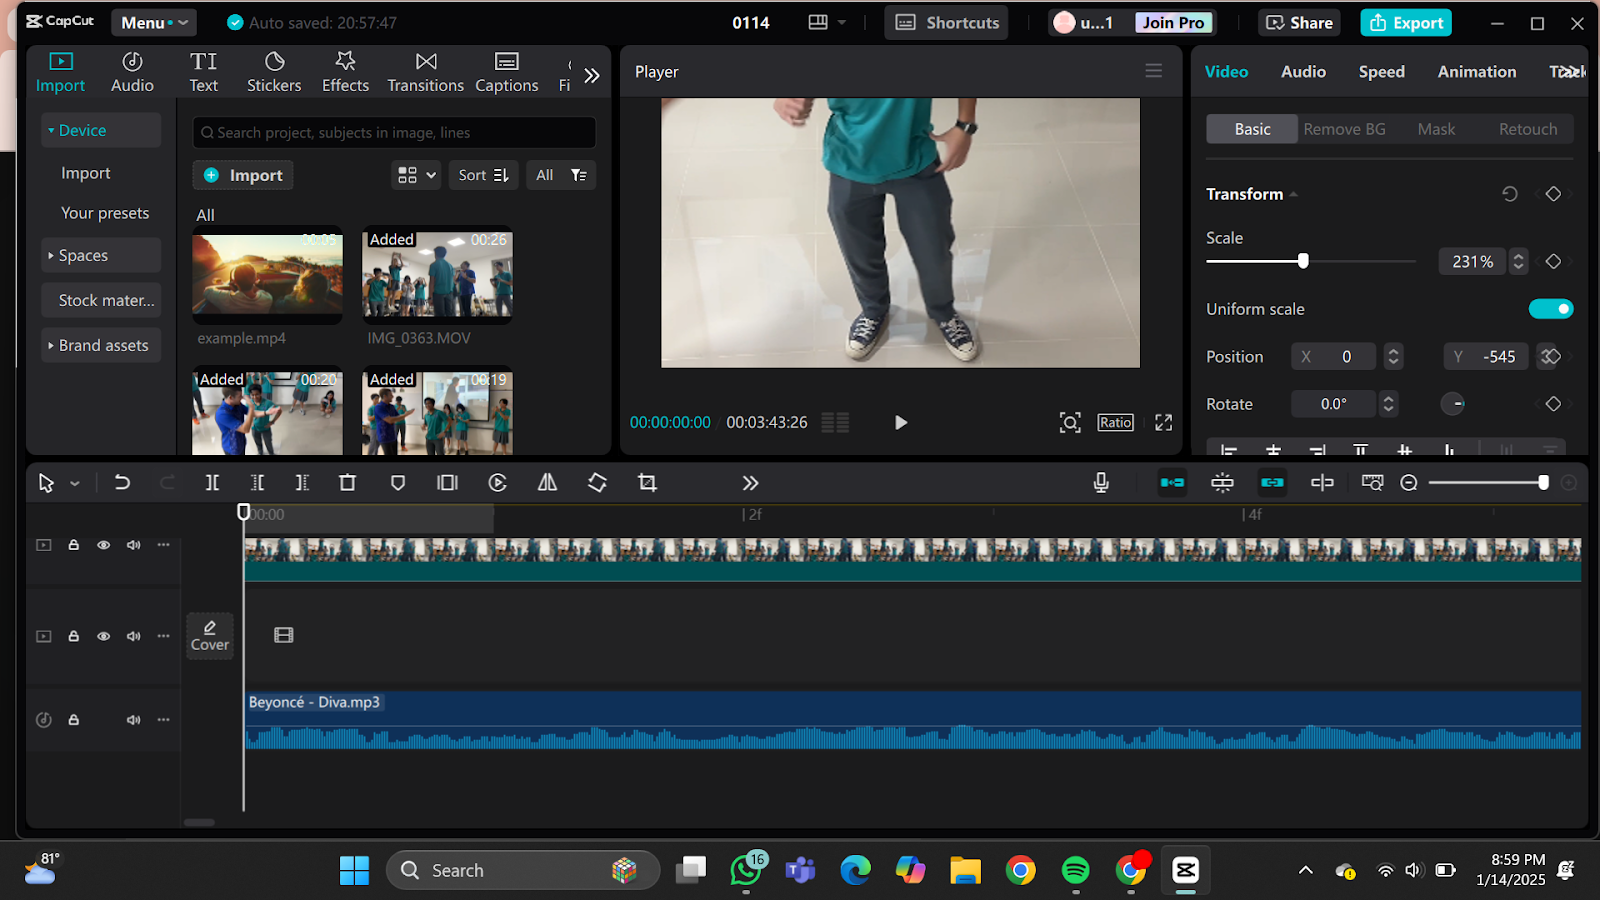
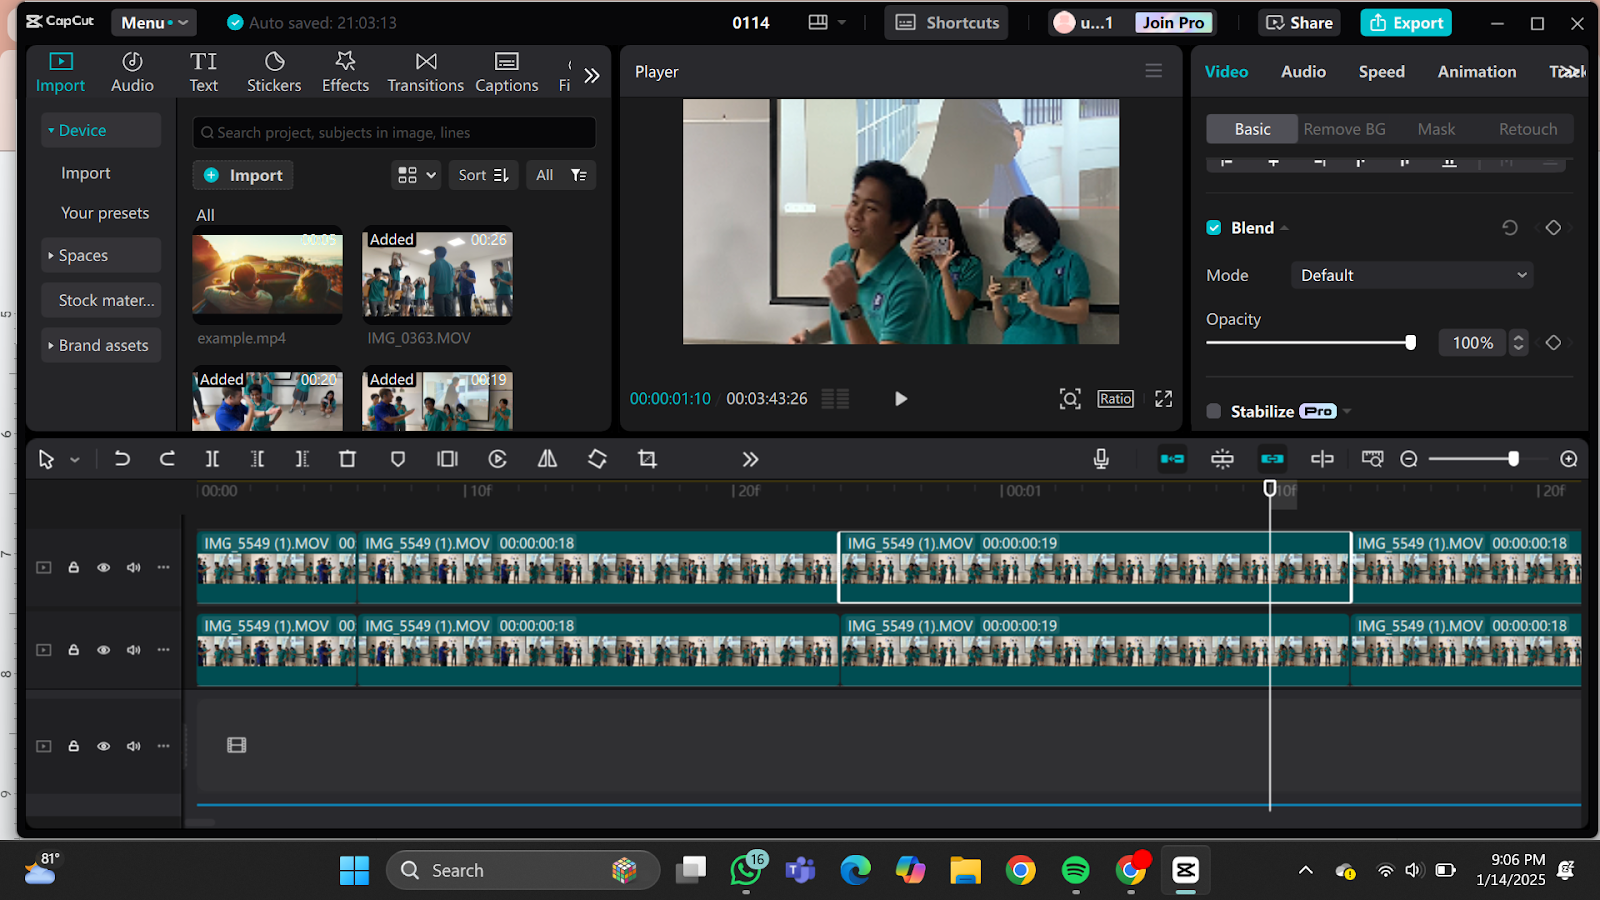
1. Inserting clips and the audio
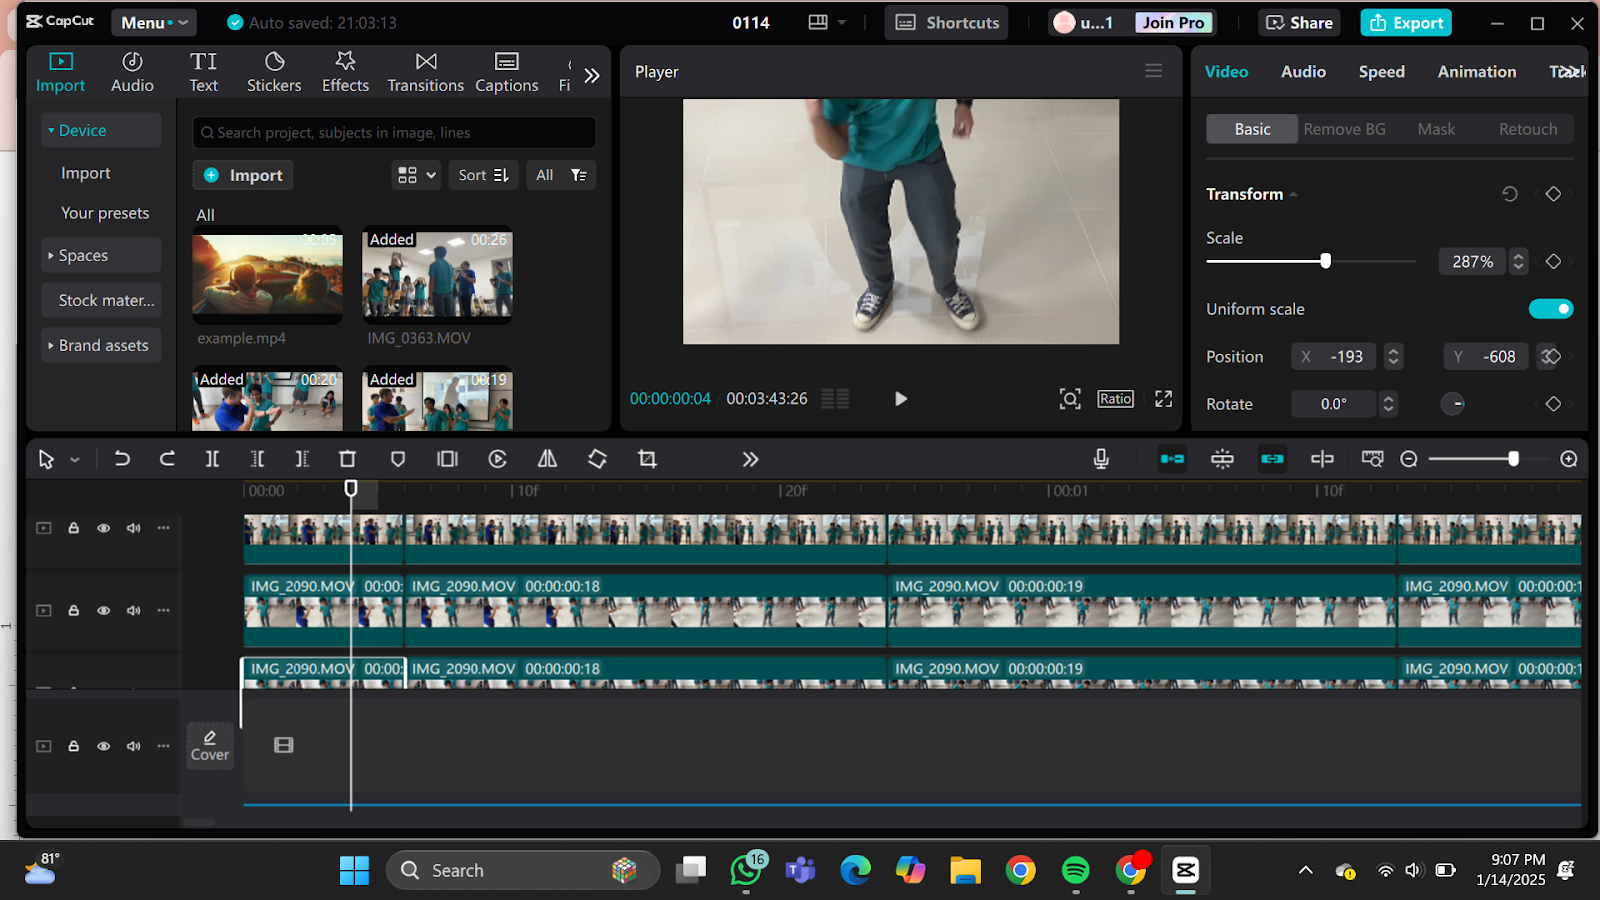
2. Duplicating clips and zooming in (cropping) to create a different shot expanding the variety of shots
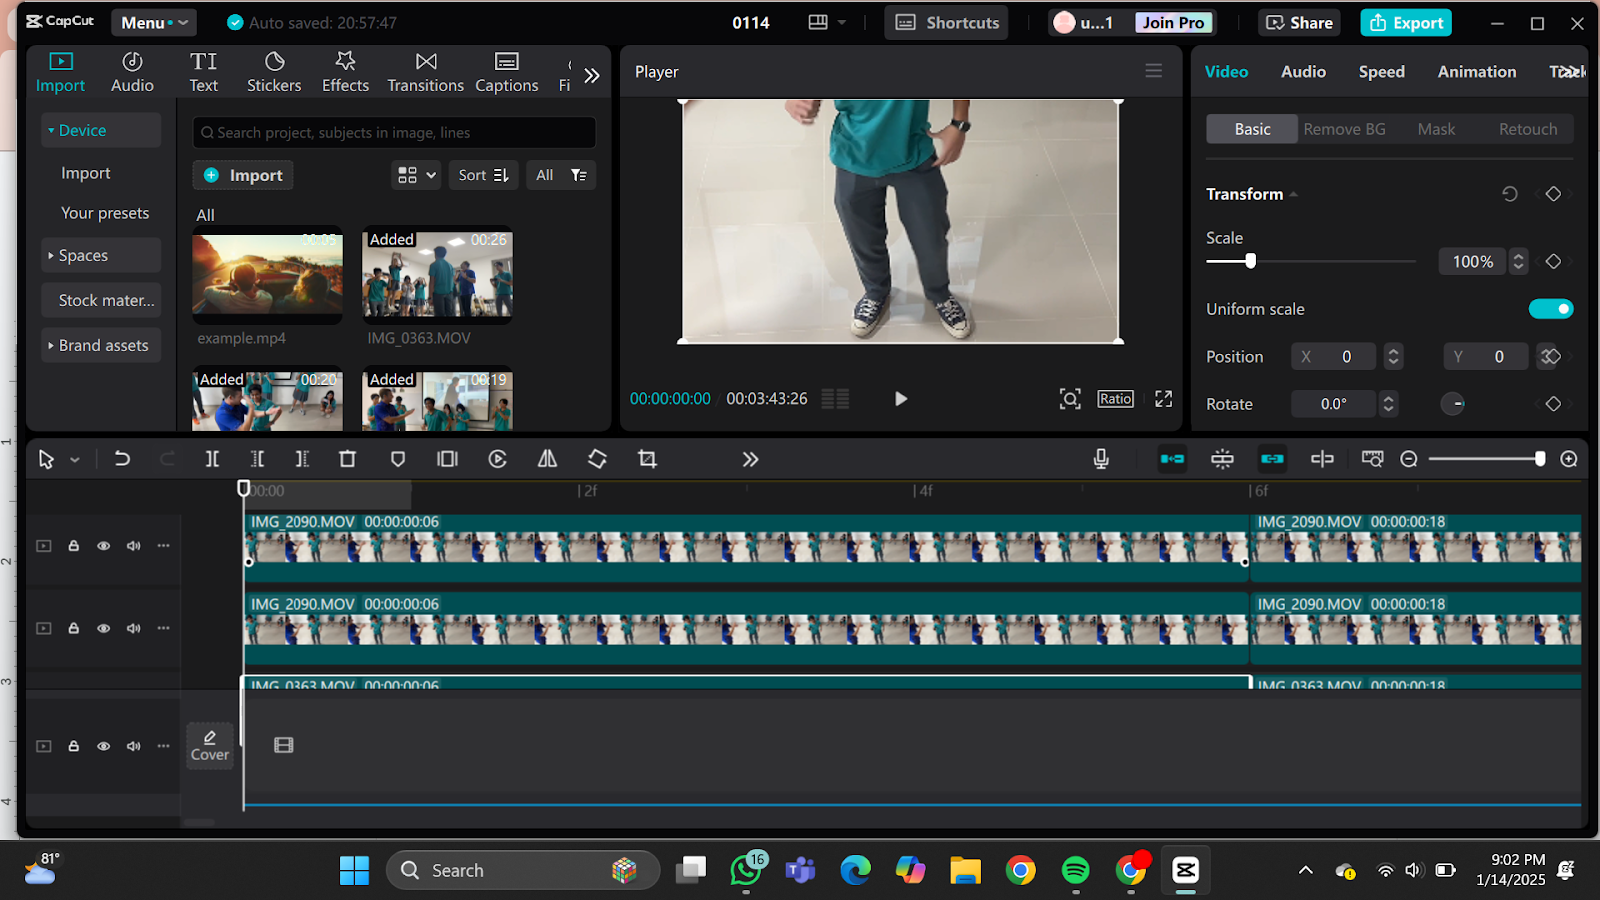
3. Aligning/stacking the clips with the audio and cutting the clips
Setting opacity to 50% so that I can view all the clips simultaneously to make sure it’s in-sync with the audio.
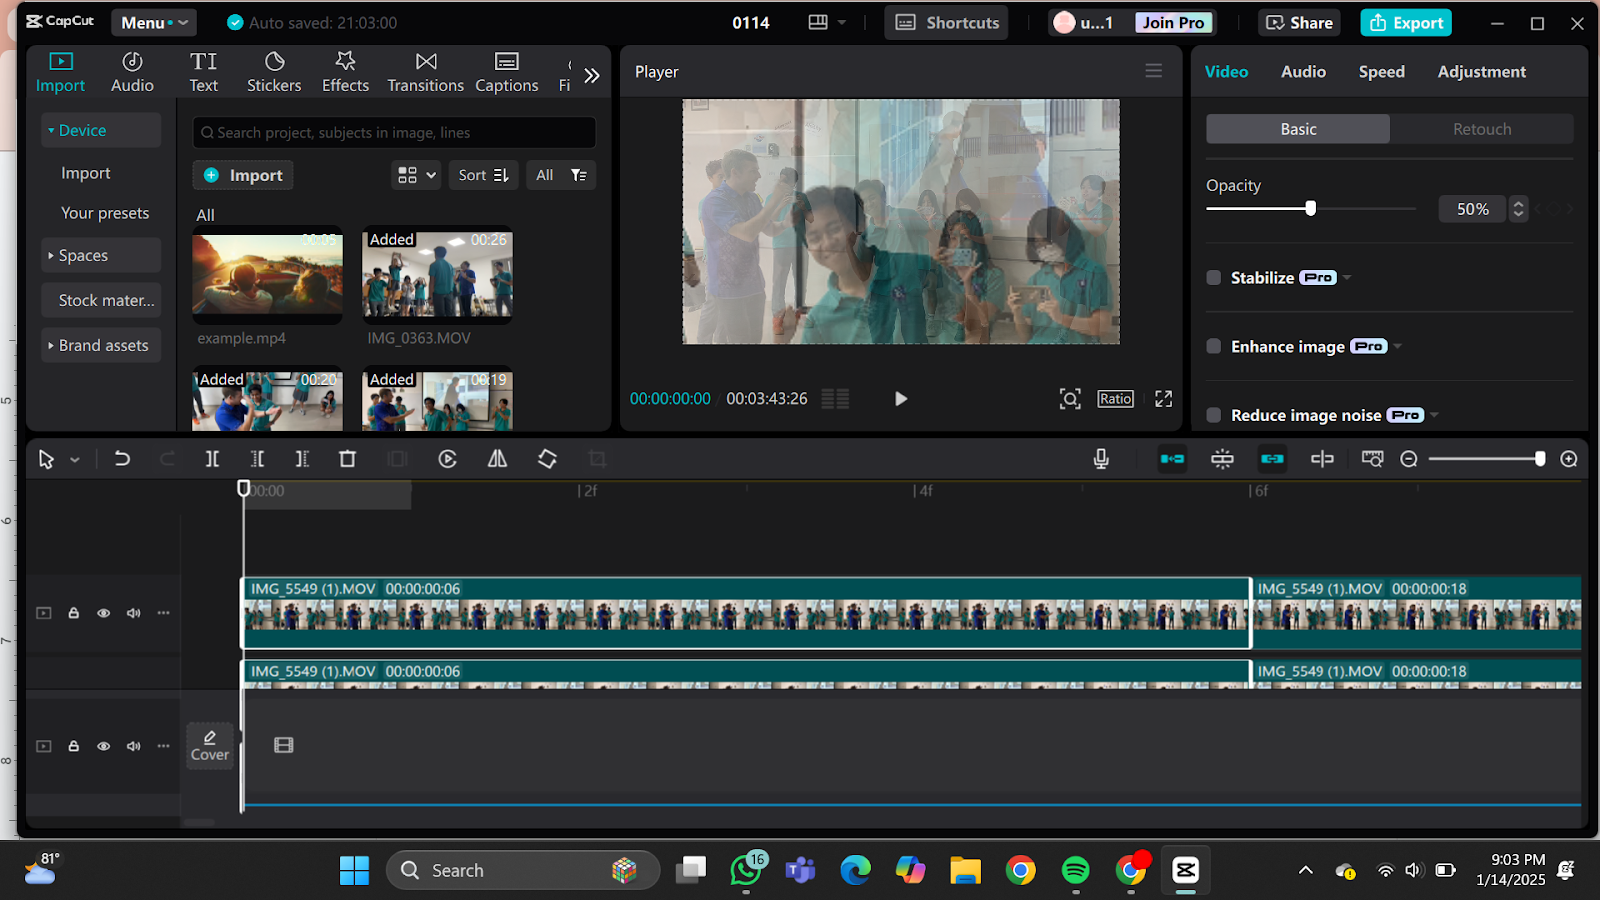
I made sure the timing was right as I intend to implement cut-to-the-beat style editing.
I picked a pop song for the music choice as I wanted to maximise this practice before the editing process for my final project and I had realised that since the song was really upbeat, there were so many cuts
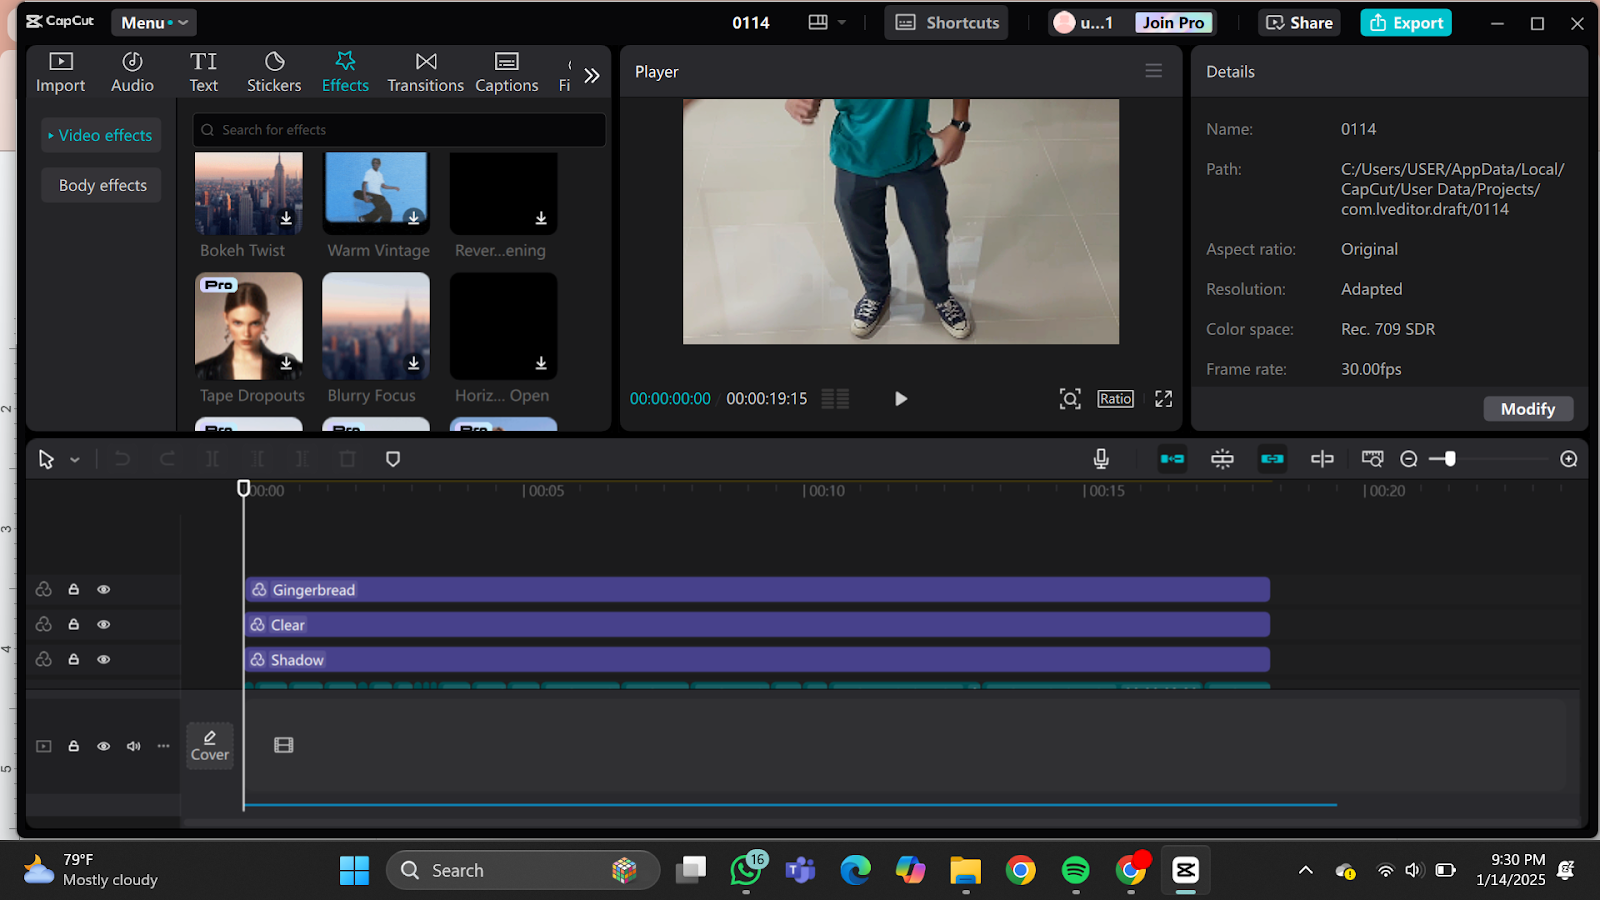
Adding filtters...
Here is my final edited video:
Click here for link to Gdrive.
---------------------------------------------------------------------------------------------------------------------------------------------------------------
𝑺𝒆𝒍𝒇 𝑹𝒆𝒇𝒍𝒆𝒄𝒕𝒊𝒐𝒏:
The multicam editing practice would help me understand more on editing. As the editing is a solo project, I'm able to conduct my own practices on editing such as cutting clips, arranging clips, and synching with the sound/song. By this, I am able to grow my editing skills and would not have to rely on one person doing all the editing with little to no help. In this case, I may help them out on the editing process of our project. Another would be that we can learn to obtain and shoot many clips of the same scene at the same time ensuring all the movement of the star is in-synch which makes the music video seems more real. We can utilise this technique to capture various angles of the action sequence so it creates a more dynamic scene.
What did you find challenging?
I found sticking with the deadline challenging as I was not able to finish this blogpost/practice straight away due to other activities barging in.
What is there anyway to simplify this process?
The editing process is time consuming so we can't really do anything about it except taking our time to complete it. If we utilises this multicam practice on our music video, we must conduct the hooting earlier so there's more time completing it.
Overall, I really did enjoyed this whole process as I am able to learn something from it.
No comments:
Post a Comment